

GitHub Pages is an awesome service, no doubt about that! It became even more awesome when they rolled out updates at the beginning of the year, serving all sites through a CDN. Especially being based in the UK it would have meant a great performance boost, as up until then the websites were being loaded all the way from California and, being heavily OCD when it comes to website performance, this was costing me sleep for months. Needless to say I was thrilled about the news!
Sadly, this joy didn’t last as it turned out that using the CDN with custom domains only works when pointing to GitHub Pages via CNAME records (which only work for subdomains as they mess up MX records) or ALIAS records, which the vast majority of DNS providers don’t currently support (and according to this article are a bad idea anyway). Since I wanted to point an APEX domain (eg. example.com) and I wasn’t too keen on switching to another provider, it seemed the quest for faster GitHub Pages was doomed. Well, it was up until a couple of months ago…
CNAMEs on a naked domain with CloudFlare’s CNAME Flattening
I’ve been aware of CloudFlare for quite some time now but this is what really caught my attention. They came up with a way to use a CNAME record on a root domain without breaking the internet, which is not only a breeze to set up but also completely free!
What are you waiting for? Head over to CloudFlare.com and create an account.
Setting up CloudFlare DNS for GitHub Pages
This part really couldn’t be easier! Login and click on Websites, add your domain name and wait for CloudFlare to import your DNS records.
Next, delete the A records and replace them with CNAME records pointing to your GitHub Pages URL. You should have two CNAME records similar to those below amongst your other stuff (subdomains, MX records etc.).

Once you’ve completed the DNS setup, hitting the big green button at the bottom will take you to the performance & security settings. These can be changed later so don’t worry if you’re not 100% sure but I personally chose the following:
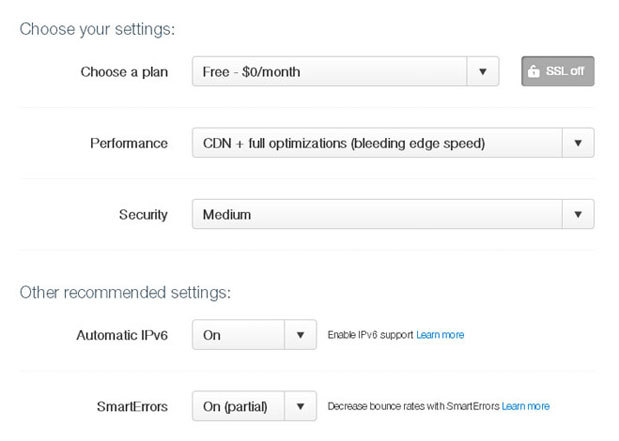
The full optimisations setting can cause issues with some JavaScript resources & plugins. If you experience problems try using the basic optimisations setting.
Once you’re happy with the settings click through to the next page and keep it open while you open your registrar’s website in a new tab. You’ll need the name server addresses in a moment.
Switching your domain to CloudFlare DNS
Now that the DNS is configured, let’s point our domain to it. For this example I’m using 123-reg as they are the most common registrar in the UK, however its just as simple to do with any other registrar.
Log into 123-reg’s control panel, select your domain and click Manage. Then, on the following screen, click on Change Nameservers (DNS).

Here, enter the name server details you were given in the last step of your CloudFlare setup.
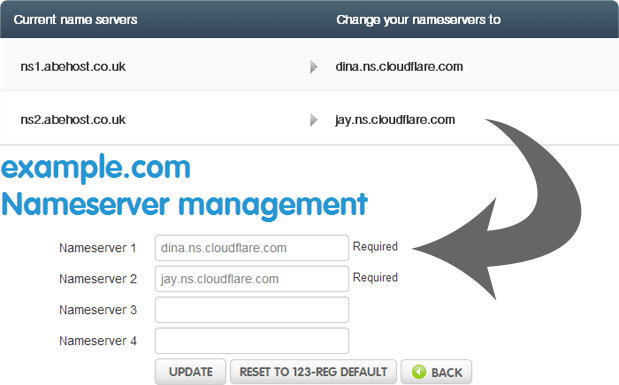
Click on Update and that’s it! Now you just need to wait for the name servers to update and enjoy a significant increase in speed.
Oh and by the way… I realise the whole point of using GitHub Pages’ CDN has become slightly pointless now that we’re using CloudFlare’s CDN anyway but does it really matter? ;-)
Posted in Tutorials